
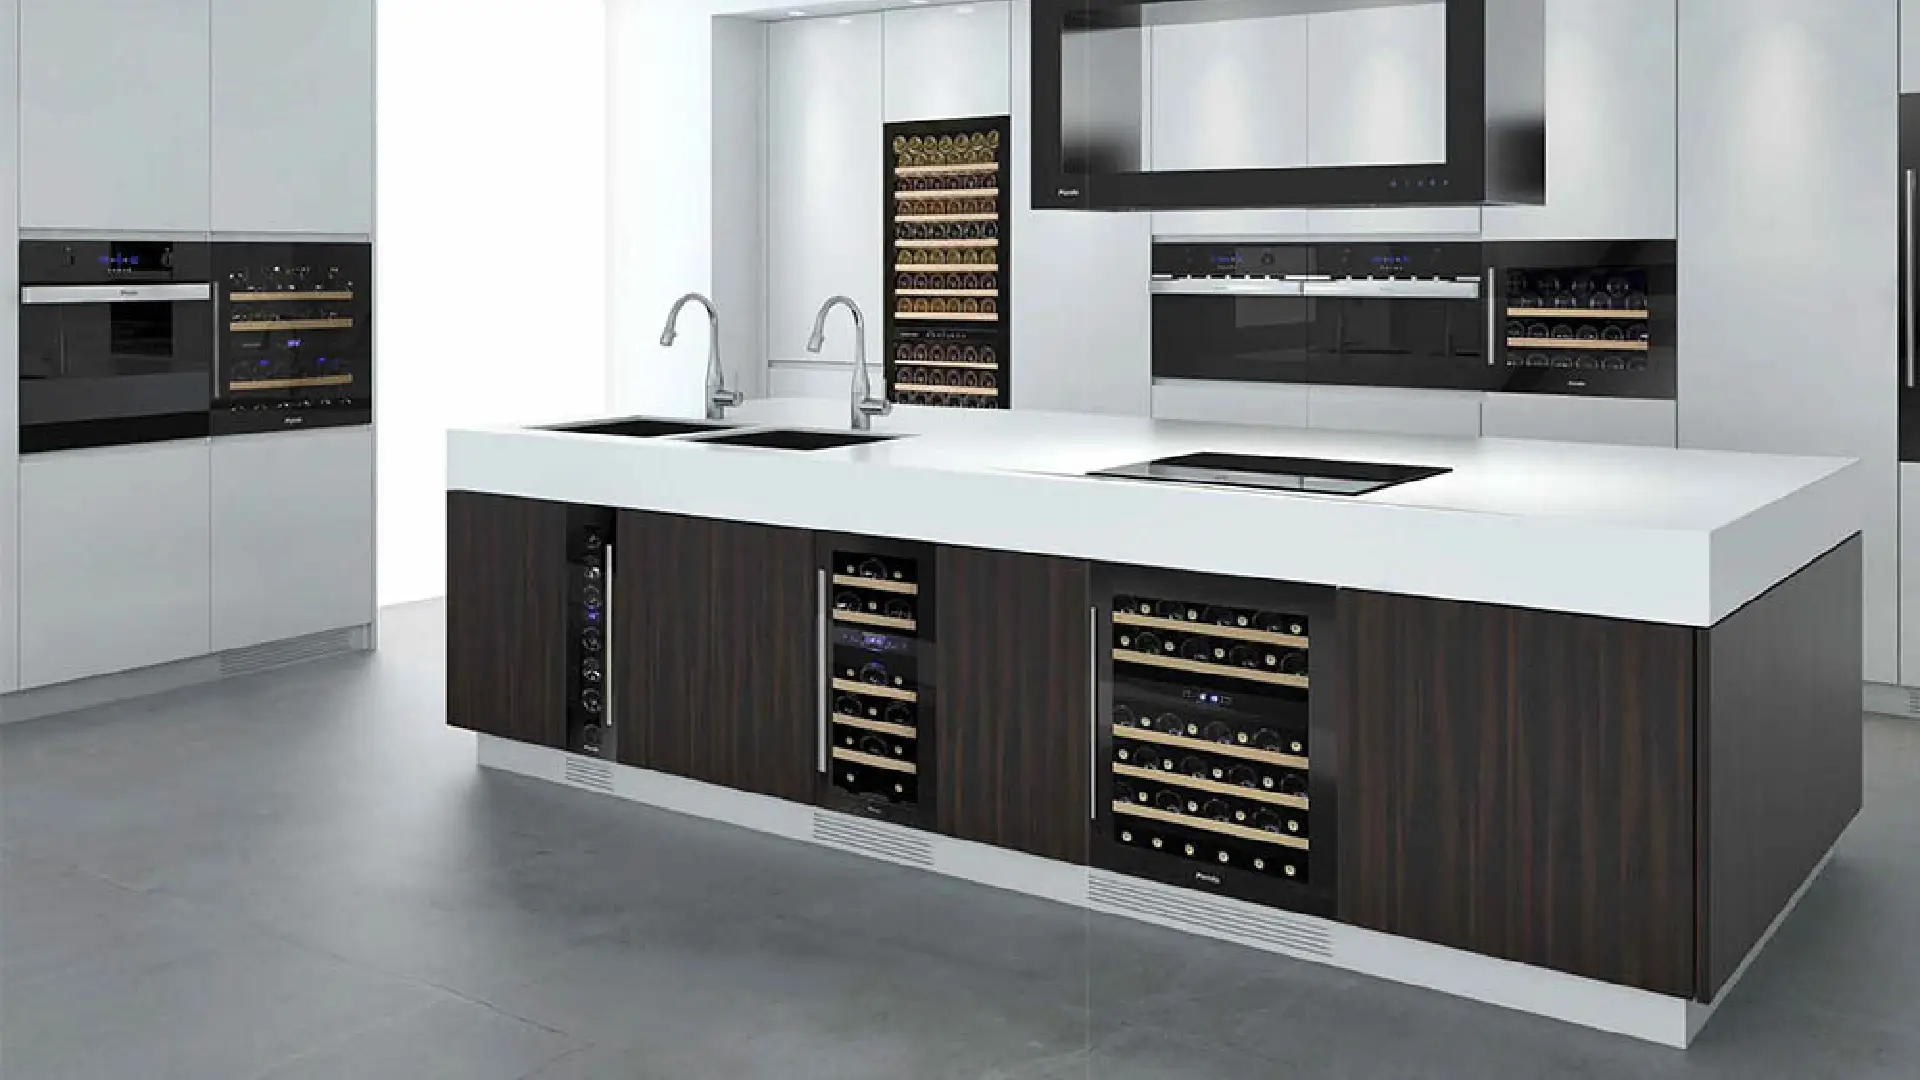
Building a wine cabinet into the kitchen has become a standard request in any serious refurbishment. Wine stops living in a storeroom cupboard and moves to the heart of the house, where people cook and entertain.
The problem is that many integrations get treated as if the cabinet were just another drawer. It is not: it is a refrigeration machine that produces heat and has to get rid of it. That is why most of the units we see failing early have no factory defect at all, just badly prepared cabinetry.
This guide covers what has to be decided before the units are ordered: which model, where, with what ventilation, at what dimensions and at what temperature. For the thermal ranges themselves, see our guide to the ideal temperature for red wine.
1. The three pillars of integration
Every correct integration rests on three decisions taken before the kitchen is manufactured:
- The model. It must be declared integrable by the manufacturer, meaning it is designed to vent heat forwards. Freestanding models expel heat backwards and sideways and cannot be boxed in.
- The position. Away from the oven, the hob, the dishwasher and direct sun. Every extra degree of ambient temperature is extra compressor work and extra consumption.
- The ventilation. A grille in the plinth, an aperture with the clearances from the datasheet and no solid panel blocking the air outlet.
Get those three right and the rest (front, handle, lighting) is finish. Get one wrong and no finish compensates for it.
2. Integrable or freestanding
This is the most expensive confusion and the most common one. A freestanding unit can look identical from the outside, but it dissipates heat at the back. Boxed into a unit, it recirculates its own hot air: consumption rises, noise rises, the internal temperature stops being stable and the compressor ages under strain.
| Type | Heat dissipation | Can it be boxed in? |
|---|---|---|
| Integrable | Front, through the plinth | Yes, with a grille and datasheet clearances |
| Freestanding | Rear and sides | No, it needs air all around |
| Bespoke | Designed into the whole assembly | Yes, ventilation is part of the design |
The datasheet always says so. If the manufacturer does not declare built-in installation, it is not built-in, however well the aperture fits.
3. Where to put it (and where not to)
A wine cabinet lives in a hostile environment: the kitchen is the hottest room in the house. The rule is simple, the further from any heat source the better.
Positions to avoid
- Under the hob or beside the oven. The radiated heat is continuous through cooking hours and a laminate front does not stop it.
- Next to the dishwasher. It adds heat and steam, and steam is worse than heat because it attacks the door seal.
- Back to back with the fridge. Two refrigeration machines venting heat at each other.
- Under a window with direct sun. It adds heat and ultraviolet light, which degrades wine even through glass.
- A sealed unit with no grille. The classic joinery mistake in pursuit of a perfect front.
If there is no alternative
In small kitchens you cannot always move everything apart. In that case an insulating panel goes between the hot appliance and the cabinet, a few centimetres of air gap are left and the plinth grille is oversized. Not ideal, but it is the difference between a unit that suffers and one that fails.
«Most kitchen wine cabinets we are called out to are not broken: they are suffocating.»
4. Ventilation: where everything fails
A wine cabinet does not create cold, it removes heat. That heat has to reach the kitchen, and for that it needs a clear air path. What we always ask the joiner for:
- A lower grille of at least 200 cm² free area in the unit plinth, or a recessed plinth open across the full width.
- Rear clearance of 3-5 cm, or whatever the datasheet specifies, with no cables or pipework taking it up.
- Minimum side and top clearance, typically 5 mm per side, so the unit does not touch the cabinetry and transmit vibration.
- An air outlet towards open space. In islands, to a free side, never into the closed interior of the unit.
A well-ventilated unit is also quieter, which matters when the kitchen opens onto the living room and the cabinet sits three metres from the sofa. Vibration is the other parameter that gets ignored and does affect ageing bottles; we cover it in vibration and ageing wines.
5. Types: under-counter, column, island
| Integration | Advantages | Things to watch |
|---|---|---|
| Under-counter | Discreet, takes a standard base unit, easiest in a refurbishment | Limited capacity, 20-50 bottles; the plinth must stay ventilated |
| Column or tower | High capacity, dual zone, comfortable serving height | Takes a full run; keep it away from the oven column |
| In the island | Turns the island into a serving and gathering point | Power socket and air outlet must be planned before the works |
| Glass fronted | The collection becomes a design feature | UV-filtered glazing, LED with no ultraviolet and zero direct sun |
Under-counter
The most common answer and the easiest to solve in a refurbishment, since it occupies a standard base unit aperture. It works well as a drinking cabinet with fast rotation, less so as serious ageing storage because of capacity.
Column
Once the collection passes a hundred bottles, a column is the sensible option. It allows a genuine dual zone and keeps bottles at hand height. Just avoid placing it right against the oven and microwave column, which is exactly where the plan usually puts it.
In the island
The most striking integration and the one that demands the most planning, because the electrics and the ventilation are decided during the building works. After that there is no going back without breaking something.
Glass fronted
For when the wine is meant to be seen. The condition is controlling light: UV-filtered glazing and low-emission LED lighting, on only when in use. The same criteria we apply in glass wine rooms for living areas.
6. Dimensions, capacity and installation
| Format | Indicative aperture | Capacity |
|---|---|---|
| Under-counter 30 cm | 30 × 82-88 × 57 cm | 18-25 bottles |
| Under-counter 45 cm | 45 × 82-88 × 57 cm | 30-40 bottles |
| Under-counter 60 cm | 60 × 82-88 × 57 cm | 40-50 bottles |
| Column 60 cm | 60 × 178-193 × 60 cm | 90-180 bottles |
| Bespoke | Per project | No practical limit |
Catalogue capacities are always calculated with standard Bordeaux bottles. With Burgundy bottles, champagne or magnums the real figure drops by 20 to 30 %, so do the maths with the bottles you actually buy, not the ones in the brochure.
Electrical installation
A dedicated, accessible socket, preferably in the neighbouring unit so the cabinet can be unplugged without dismantling anything. A good kitchen fitter can handle the joinery; the electrics should go to a professional. In islands, the point is left in place during the building works.
Temperature setting
Single zone for storage: 12-14 °C. Dual zone: lower at 12-14 °C for ageing reds and upper at 16-17 °C if red service matters most, or 8-10 °C if whites and sparkling wines do. The classic mistake is setting the whole cabinet to 17 °C because that is drinking temperature, and at that setting ageing bottles evolve far faster than they should.
7. Off-the-shelf or bespoke
An off-the-shelf integrable cabinet covers domestic drinking perfectly well: between €500 and €4,500 depending on whether it is basic single zone or high-end dual zone, plus joinery and the electrical point. For 40 bottles rotating every few months, that is the right answer.
A bespoke project answers a different question: cabinetry continuous with the kitchen, dimensions that do not exist in any catalogue, serious capacity, or ageing-grade thermal stability within ±0.5 °C with controlled humidity. That is what we build as built-in kitchen wine cabinets, with a dedicated chamber, sized climate control and anti-vibration. That work starts at €35,000 and is scoped by capacity, finishes and building works. The full comparison is in commercial versus bespoke wine cabinets.
Frequently asked questions
How do you integrate a wine cabinet into a kitchen?
Three decisions taken before the units are made: an integrable model, a position away from the oven, hob and dishwasher, and front ventilation respected. The cabinetry gets an exact aperture, an accessible socket and, where allowed, a matching door panel.
What size is an under-counter wine cabinet?
The standard is 60 × 82-88 × 57 cm, a base unit aperture, with 45 cm and 30 cm versions for narrow gaps. Capacity runs from 18 to 50 Bordeaux bottles; with Burgundy bottles or magnums, drop that by 20 to 30 %.
How much ventilation does a built-in wine cabinet need?
At least 200 cm² of free grille area in the plinth, plus the rear clearance from the datasheet (usually 3-5 cm). A freestanding unit boxed in without rear ventilation runs permanently overloaded: more consumption, more noise, shorter life.
Where should you not put a wine cabinet in a kitchen?
Never next to the oven, hob, dishwasher or fridge, nor under a window with direct sun, nor in a sealed unit with no grille. If there is no alternative, fit an insulating panel, leave an air gap and oversize the ventilation.
Can a wine cabinet go in a kitchen island?
Yes, and it turns the island into a serving area. It has to be planned before the works: a socket inside the island, an air outlet to a free side and a check that the hob or sink is not directly above.
How much does it cost to integrate a wine cabinet?
An off-the-shelf integrable cabinet runs €500 to €4,500 depending on single or dual zone, plus joinery and the electrical point. A bespoke project, with its own chamber and stable climate control, starts at €35,000 and is sized by capacity and finishes.
Glass door or matching panel?
A matching panel disappears into the fronts and protects better from light. Glass displays the collection but calls for UV-filtered glazing, LED with no ultraviolet emission and no direct sunlight at all.
What temperature should a kitchen wine cabinet be set to?
Single zone for storage: 12-14 °C. Dual zone: lower at 12-14 °C and upper at 16-17 °C for red service, or 8-10 °C if whites and sparkling wines take priority. Setting the whole cabinet to 17 °C accelerates ageing bottles.
AI-assisted draft, reviewed and approved by Juan Serrate on . How we make our content
Want the wine cabinet built into your kitchen?
We design the cabinet with the kitchen, not after it: aperture, ventilation, climate control stable to ±0.5 °C and cabinetry continuous with the fronts. Free technical site visit and a 3D render before manufacture.